If you’ve ever worked with a Raspberry Pi and seen the term “headless”, you might have wondered what that actually means — and how to set it up.
A headless Raspberry Pi is simply a Pi running without a monitor, keyboard, or mouse attached. Instead, you access it remotely over Ethernet or Wi-Fi. It’s still fully functional, just controlled from another device.
Thanks for Gary Explains for his great vide on the subject. This guide is based on his video. Here are four different ways to set up and access a headless Raspberry Pi:
- Raspberry Pi Connect
- Secure Shell (SSH)
- VNC (Remote Desktop)
- KVM (Keyboard, Video, Mouse over USB)
Let’s start at the beginning.
Step 1: Prepare the SD Card with Raspberry Pi Imager
Everything begins with the Raspberry Pi Imager, the official tool for creating bootable Raspberry Pi SD cards.
1️⃣ Select Your Device and OS
- Choose your Raspberry Pi model (e.g., Raspberry Pi 5).
- Select an OS — typically:
- Raspberry Pi OS (64-bit)
There are other options available, but Raspberry Pi OS is the standard choice.
2️⃣ Choose Your SD Card
Select your SD card (for example, 32GB).
3️⃣ Configure Advanced Options (Very Important!)
Before writing the image, open the advanced settings (gear icon). This is where you configure everything needed for a headless setup:
✅ Set Hostname
Example: pi5
✅ Create Username and Password
This is critical. You’ll need these credentials for remote login.
✅ Configure Wi-Fi (if not using Ethernet)
Enter:
- SSID (Wi-Fi network name)
- Wi-Fi password
If you’re using Ethernet, you can skip this step.
✅ Enable SSH
Enable SSH and choose password authentication.
✅ Enable Raspberry Pi Connect
Activate Raspberry Pi Connect and generate an authentication token.
Once everything is configured, write the SD card.
Boot the Raspberry Pi
- Insert the SD card into your Pi.
- Connect power.
- Wait 1–2 minutes for the first boot.
Your Raspberry Pi is now running headless.
Now let’s connect to it.
Method 1: Raspberry Pi Connect (Browser-Based Access)
The easiest method is Raspberry Pi Connect.
How to Connect:
- Open your browser.
- Go to:
https://connect.raspberrypi.com - Log in.
- Select your device.
- Choose Screen Sharing.
Within seconds, your Raspberry Pi desktop appears in your browser.
✔ No monitor needed
✔ No keyboard needed
✔ Works over Wi-Fi
✔ Full graphical desktop
This is by far the simplest method for beginners.
Method 2: SSH (Secure Shell – Command Line Only)
If you only need command-line access, SSH is lightweight and powerful.
From:
- Windows (PowerShell)
- macOS (Terminal)
- Linux (Terminal)
Run:
ssh gary@pi5
You’ll be prompted to confirm the connection and enter your password.
✔ Fast
✔ Minimal resource usage
✔ Perfect for servers or automation
But it’s command-line only, no desktop.
Method 3: Enable and Use VNC (Remote Desktop)

If you connected via SSH but want a full desktop, you can enable VNC.
Enable VNC on the Pi
Run:
sudo raspi-config
Navigate to:
Interface Options → VNC → Enable
Exit and finish.
Connect Using a VNC Viewer
Download and install a VNC viewer such as:
- RealVNC Viewer
- TigerVNC Viewer
Then:
- Enter your hostname (e.g.,
pi5) - Enter username and password
- Connect
You now have full graphical access to your Pi.
✔ Full desktop
✔ Works over local network
✔ Great balance of control and usability
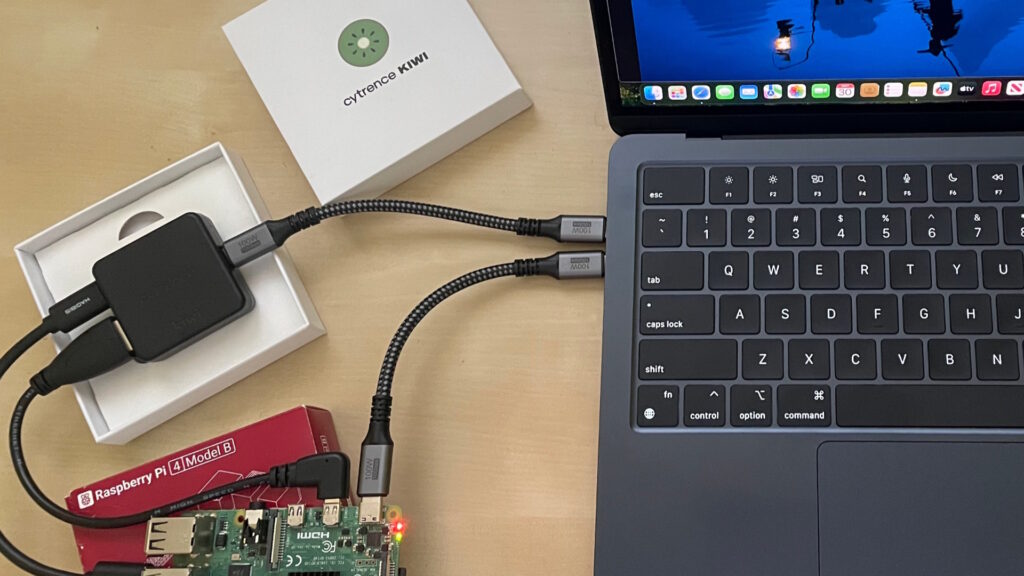
Method 4: Use a KVM (Hardware-Based Access)
The final option is a KVM (Keyboard, Video, Mouse) device.
A USB-based KVM:
- Connects to your laptop
- Connects to your Raspberry Pi via USB (keyboard/mouse emulation)
- Connects via HDMI for video
This allows you to:
✔ Access the Pi without separate monitor/keyboard
✔ Control it directly through your main computer
✔ Use it even without network setup
This method is especially useful for:
- Troubleshooting
- Initial setup
- Network issues
Which Method Should You Use?
| Method | Desktop Access | Requires Network | Best For |
|---|---|---|---|
| Raspberry Pi Connect | ✅ Yes | ✅ Yes | Easiest setup |
| SSH | ❌ No (CLI only) | ✅ Yes | Servers, automation |
| VNC | ✅ Yes | ✅ Yes | Local desktop access |
| KVM | ✅ Yes | ❌ No | Hardware troubleshooting |
Final Thoughts
A headless Raspberry Pi is incredibly flexible. Whether you want:
- A lightweight server
- A remote development machine
- A home automation hub
- Or just a clean setup without extra cables
There’s a method that fits your workflow.
For most people:
- Raspberry Pi Connect is the easiest.
- SSH is the most efficient.
- VNC gives full graphical control.
- KVM is the ultimate fallback.
Once you understand these four methods, you’ll never need to plug a monitor into your Raspberry Pi again!

Gladstone is a tech virtuoso, boasting a dynamic 25-year journey through the digital landscape. A maestro of code, he has engineered cutting-edge software, orchestrated high-performing teams, and masterminded robust system architectures. His experience covers large-scale systems, as well as the intricacies of embedded systems and microcontrollers. A proud alumnus of a prestigious British institution, he wields a computer-science-related honours degree.